
Adirondack case guy
Well-known Member
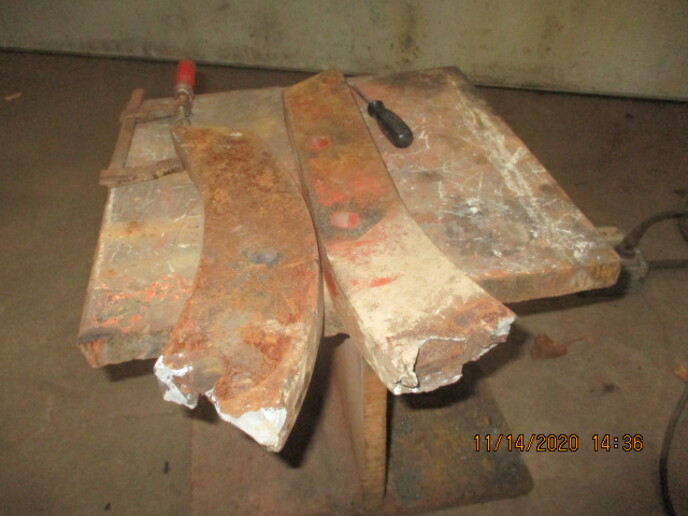
Well, I struck out Friday looking for a salvage replacement shank. White built plows
for Case and my friendly CNH dealer was parting out a Case 500 plow, the same as the
White model 588. I figured the shanks would be the same on the 500/588, but not
so.The shanks on the 598 vari-width are 2" longer with another hole in them. Sat, I
started the welding repair. This shank was broken and repaired before we got the
plow. The last repair was not done properly. They did not grind the 2 halves in very
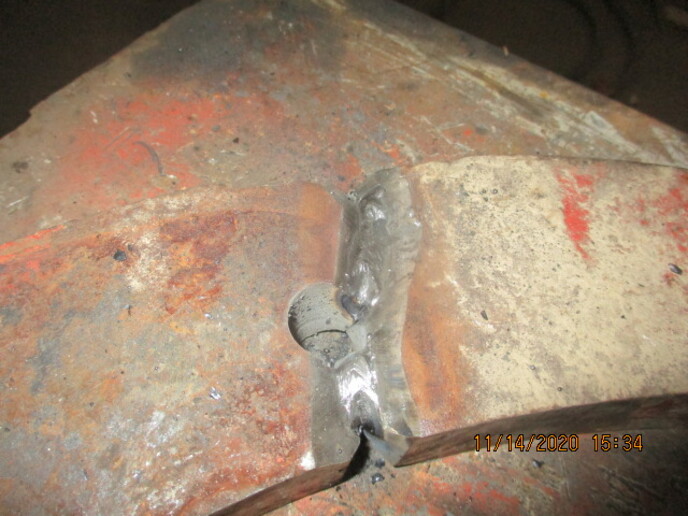
far, so the welds did not penetrate to the center of the 1-3/8" thick shank. I Vee'd
both halves out deep, not only on the sides, but edges also. I got good penetration
on the first center beads and made sure all the slag was chipped away and then used
a blunt punch and hammer to relieve each weld. I alternated welds on each side so
the shank remained straight and true. This heavy piece of H beam makes a great anvil and perfect flat surface to hold things straight. I took my time welding so that the shank
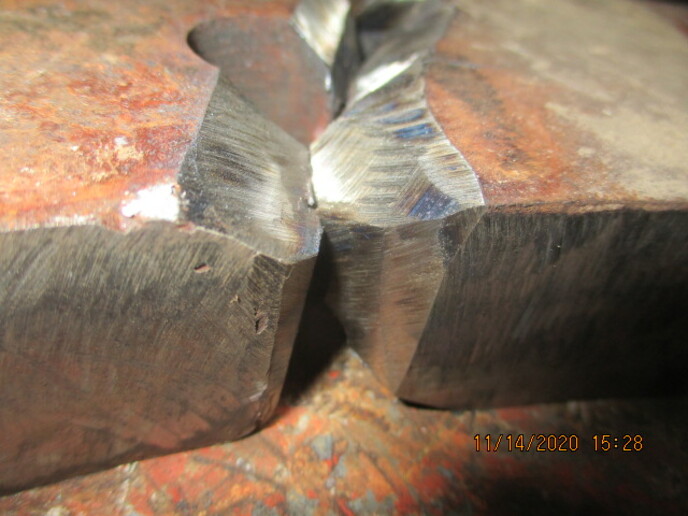
stayed reasonably cool and as said all the beads were lightly relieved. The first
picture shows how poorly the first welding job was done. Lots of rusty metal in
center of shank.
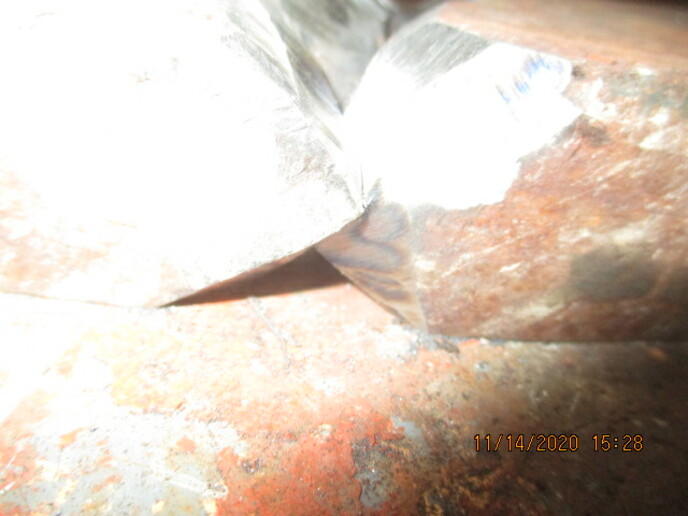
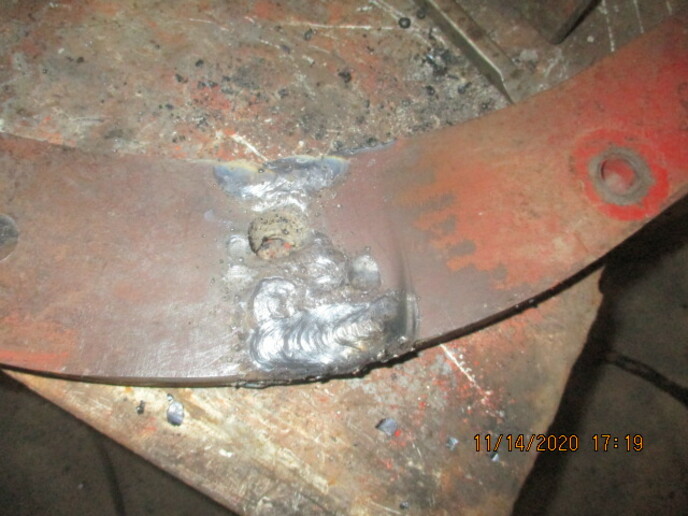
 The rest of the pics were taken as welding progressed.
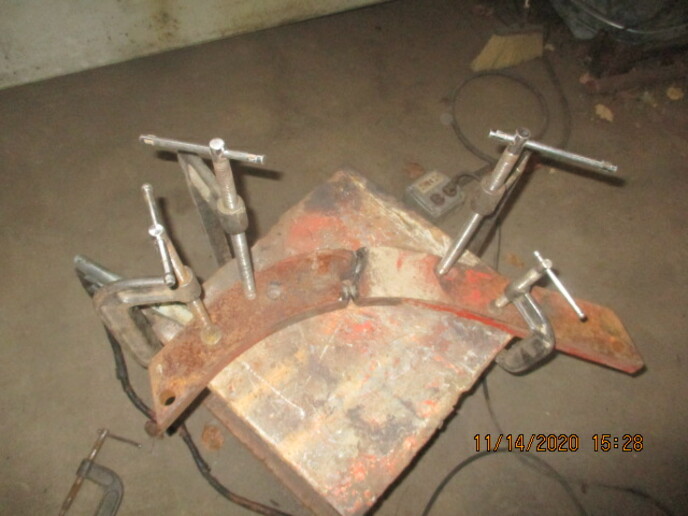
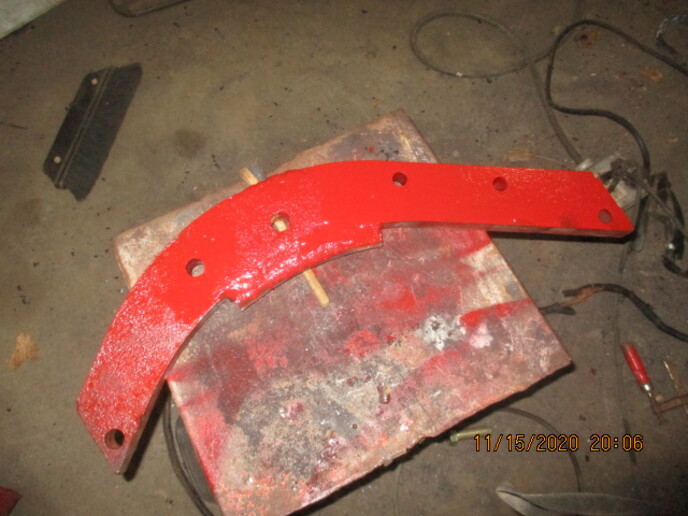
 Today I went out to the shop and found a piece of 1" round stock and cut and bent it to fit the inner curve of the shank where all the stress will be. The rod will make up for the weak spot where the 3/4" hole is drilled thru the shank where it broke. I ground the welds down on the sides as the shank slides up into the spring reset assy. Gave it a squirt of paint and tomorrow I hope to be back in the field plowing. I still have 200A to go.
 Loren
Loren
for Case and my friendly CNH dealer was parting out a Case 500 plow, the same as the
White model 588. I figured the shanks would be the same on the 500/588, but not
so.The shanks on the 598 vari-width are 2" longer with another hole in them. Sat, I
started the welding repair. This shank was broken and repaired before we got the
plow. The last repair was not done properly. They did not grind the 2 halves in very
far, so the welds did not penetrate to the center of the 1-3/8" thick shank. I Vee'd
both halves out deep, not only on the sides, but edges also. I got good penetration
on the first center beads and made sure all the slag was chipped away and then used
a blunt punch and hammer to relieve each weld. I alternated welds on each side so
the shank remained straight and true. This heavy piece of H beam makes a great anvil and perfect flat surface to hold things straight. I took my time welding so that the shank
stayed reasonably cool and as said all the beads were lightly relieved. The first
picture shows how poorly the first welding job was done. Lots of rusty metal in
center of shank.