
Hi, my "tool", a Melore Bobcat M600 is currently broken in my driveway. This old bobcat, has a goofy variable sheave drive system. It is similar to a snowmobile, but is hydraulically actuated to squeeze the sheave together to get variable speeds.
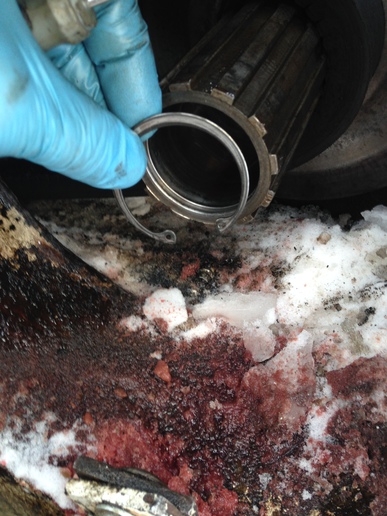
So there is a groove that a snap ring fits in that is worn, so that now instead of a "square" bore it now has a ramp on the thrust face. This lets the snap ring pop out when under load. See the pics for more detail.
I am not sure what is the best way to fix this. I have considered brazing up the groove and having it re-machined, but that is a lot of work and money, to be sure. I have also considered assembling the pulley and putting maybe 3 braze spots, sort of a tack weld to hold the whole mess together. This is less desirable, as it makes future repairs VERY difficult...
I also considered using JB Weld, or some sort of epoxy, to fill in the gap after assembly. This would only require heat to take apart in the future...
Anyone have any thoughts?
Regards,
Tim in Mass
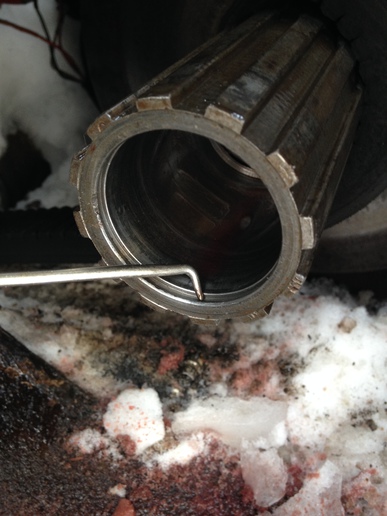
