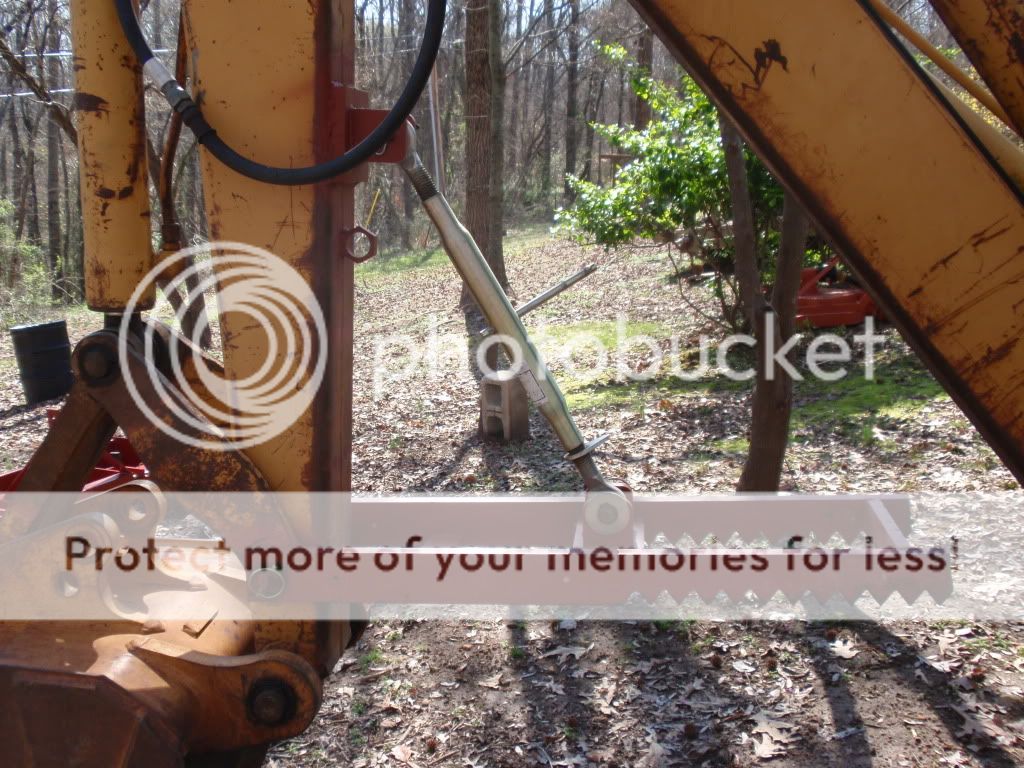
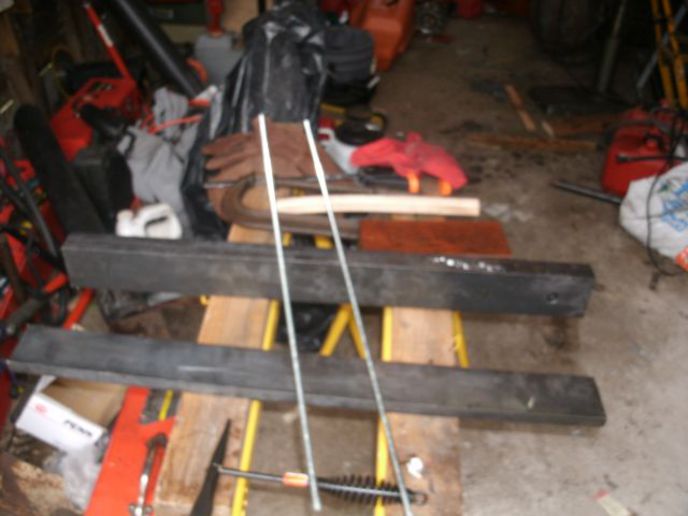
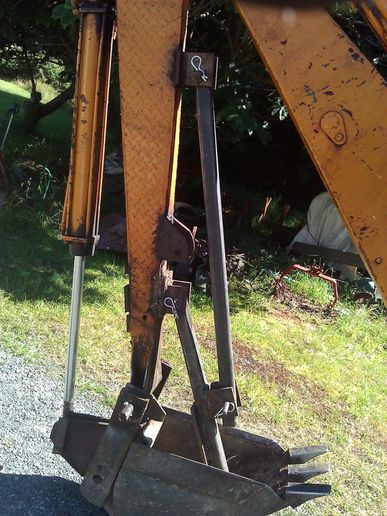
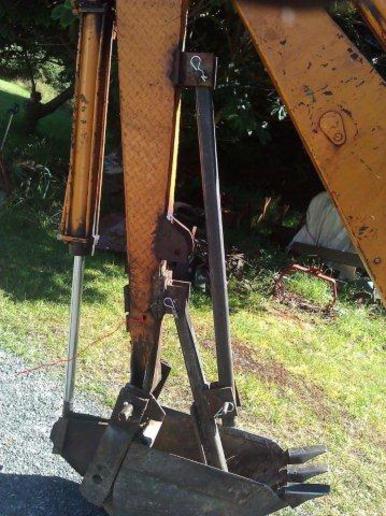
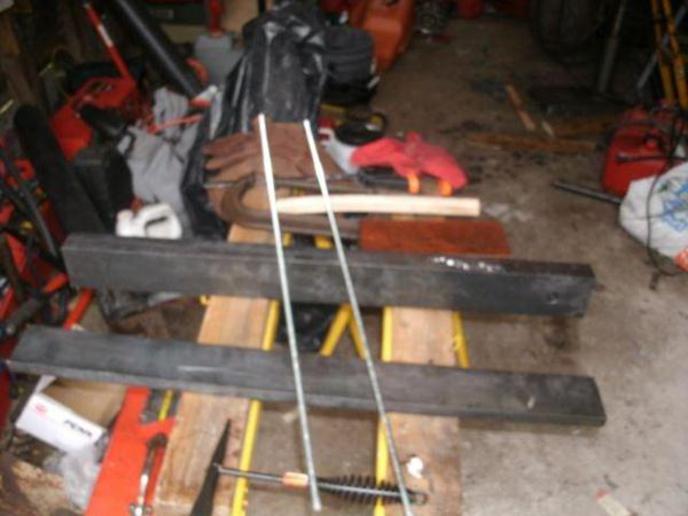
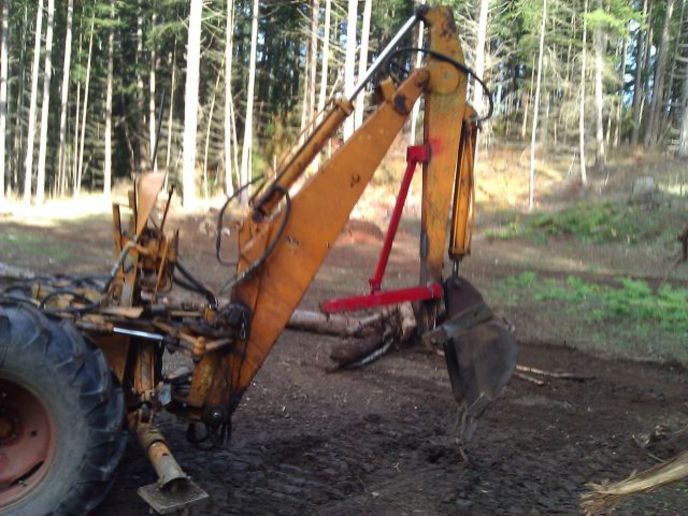
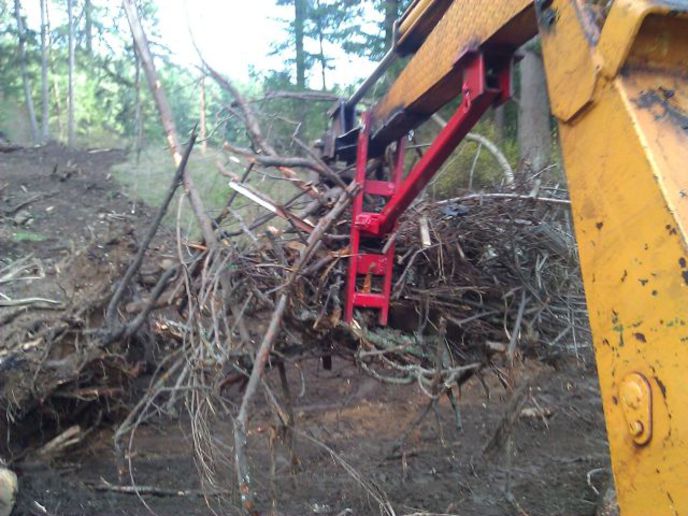
fixed thumb for my 1957 case 320 Industrial tractor

ejensen

Well-known Member
I made a fixed thumb for my case 320 which works fine for putting brush on a fire. Material used was 1/8 inch thick box tubing and support brackets welded to the boom. Works good for putting small brush on a fire but bends easily when trying to lift logs and rocks. Uneven pressure applied to the thumb causes bending when trying to pick up rocks or other heavy objects which are common on a farm. I would like to know if anyone has build a fixed thumb and material used. I am using a 12 inch bucket
on the backhoe for the 320.
 
I think you have answered your own question;use heavier steel,say 1/2'' plate and at least 1/2'' grade 8 bolts to mount it. Remember, the posiblity's are limited only by your imagination and not many part's available for these 53&54 year old work horses, you must do a lot of thinking. -Good luck.
 
Google backhoe thumb, look at them pretty pictures, and fab one up for yourself, or if you find a good price, buy it!
 
Thank you for the reply I have a piece of 1/2 x 12 inch plate on the end of the thumb . I be ent this the other day while digging around a stump. I was thinking to upsize to 3/4 inch plate and use weldable attachment points on the boom made of 3/4 inch plate with 3/4 or 1 inch holes for bolts.
 
Here is one that I made--more info available if interested.
P3170008.jpg
[/img]
 
I would simply add to what you have, make 2 crescent shapes, as long as tip to tip, of the thumb, and as wide in the middle as you like. Then weld them to the sides of what you have. Maybe more cross-blocks to avoid twisting.
 
Thank you for the suggestions. After several attempts to build a thumb for my case the one I have now has the right length and size.
 
What size material did You use for the two sections to the thumb you made? What are the dimensions of the material you used for your thumb? What category top link did you Use? Size of material used for the anchoring point on the boom.

Thank you Chris Jensen
 
(quoted from post at 02:56:15 10/19/11) What size material did You use for the two sections to the thumb you made? What are the dimensions of the material you used for your thumb? What category top link did you Use? Size of material used for the anchoring point on the boom.

Thank you Chris Jensen
The hozontal lengths--with teeth---are 3/4" X 3"
There are 6 cross braces--the two on left--are laid flat to allow for storage.
and are 3/4" material.
The top link is cat. 1
Mounting base is 3/4" with 1/2" mounting ears.
The top link can be removed and the thumb will swing up for storage. The large nut welded just below top link mount is where the pin goes through.
It is mounted on a 480D and I have lifted many large rocks and logs with no bending problems.
I bought all the material from a fab shop and welded it together. No drilling or cutting.
Cost of materials was less then $200.00
 
Did you use mild steel for the thumb pieces? Welding- Rod used? 6011, 7018, 6013?

I have both AC and DC welding machines. My DC welder is a very old miller which has a crank start 2 cylinder onan. The AC welder is a Lincoln which is plug in model. Most of my welding is done with the AC welder simply for the ease of use.
Thanks again for the information.
 
(quoted from post at 17:15:26 10/19/11) Did you use mild steel for the thumb pieces? Welding- Rod used? 6011, 7018, 6013?

I have both AC and DC welding machines. My DC welder is a very old miller which has a crank start 2 cylinder onan. The AC welder is a Lincoln which is plug in model. Most of my welding is done with the AC welder simply for the ease of use.
Thanks again for the information.

Mild steel welded with 7018 using an OLD Lincoln AC 225
I might add that my biggest problem was measuring and figuring the size and location of each piece.
You probably know about "heat warpage" and that is to be considered.
The 1/4" holes, that can be seen on the sides, were used with all thread to keep everything alighned.
 
The thumb You made for your 480 Case is great. I plan to make one just like it for my 320. My case is on Orcas Island in the San Juan Islands, state of Washington. Returned to Seattle yesterday and will be buying the metal today. Have some other questions: Did You grind the edges on the cross pieces prior to welding to give more welding surface? How much did you grind off if You did this type of grinding? How heavy welds did You make? Did you use 1/8 or 5/32 7018? Noticed that You attached your thumb to what I call the knee action on your bucket. My 320 doesn't have the knee action. I'm going to bore a 3/4 inch hole in the boom for attaching the thumb. A picture of my backhoe is on my website which is http://www.rockisland.com/~ejensen.
 
(quoted from post at 14:35:50 10/20/11) The thumb You made for your 480 Case is great. I plan to make one just like it for my 320. My case is on Orcas Island in the San Juan Islands, state of Washington. Returned to Seattle yesterday and will be buying the metal today. Have some other questions: Did You grind the edges on the cross pieces prior to welding to give more welding surface? How much did you grind off if You did this type of grinding? How heavy welds did You make? Did you use 1/8 or 5/32 7018? Noticed that You attached your thumb to what I call the knee action on your bucket. My 320 doesn't have the knee action. I'm going to bore a 3/4 inch hole in the boom for attaching the thumb. A picture of my backhoe is on my website which is http://www.rockisland.com/~ejensen.
Yes --all edges were ground app. 1/4" x 45 degree angles. I used a 1/8" rod, because that's what I had. 5/32" rods would have been better.
I think you should consider before attempting to bore 3/4" holes. In my opinion this is dangerous, hard work and it will weaken the frame work! I copied and pasted your link but could not find a photo.
Personally, I would rather weld a pivot point to the mast as opposed to boring.
 
Thank you for the response. The boom on my Case already has a 3/4 inch hole on one side. Just need to bore through the 1/4 inch plate on the other side. Owners prior to me welded a 1/4 inch plate on the other side of the boom .Probably to add strength to the boom. The backhoe on my case is a 310 backhoe hoe unit. The 320 backhoe had the knee action. The 310 preceeded the 320. I looked for many years to find a backhoe for my case. Found the 310 hoe at County Line Equipment in Tacoma many years ago and put it on my 320.I've avoided completing the hole through the boom for several years. After looking at yours and other backhoes in my area seems that they all are attached with a through pin which connects to what I call the knee action. Mine doesn't have the knee action. Probably to strengthen the boom. I agree about boring the boom. I've been using pivot points welded to the boom and contiually get twisting of the points. It might be with heavier material this would not be a problem. I don't know why my website with tractors I've repaired didn't work. http://www.rockisland.com/~ejensen should work. Just tried it and website worked. I certainly appreciate your willingness to provide guidance and share information with me. I've had a lot of problems with thumbs I've made for my backhoe. Twisting, breaking, welds breaking,. The one you made really looks good.
 
(quoted from post at 15:55:56 10/20/11) Thank you for the response. The boom on my Case already has a 3/4 inch hole on one side. Just need to bore through the 1/4 inch plate on the other side. Owners prior to me welded a 1/4 inch plate on the other side of the boom .Probably to add strength to the boom. The backhoe on my case is a 310 backhoe hoe unit. The 320 backhoe had the knee action. The 310 preceeded the 320. I looked for many years to find a backhoe for my case. Found the 310 hoe at County Line Equipment in Tacoma many years ago and put it on my 320.I've avoided completing the hole through the boom for several years. After looking at yours and other backhoes in my area seems that they all are attached with a through pin which connects to what I call the knee action. Mine doesn't have the knee action. Probably to strengthen the boom. I agree about boring the boom. I've been using pivot points welded to the boom and contiually get twisting of the points. It might be with heavier material this would not be a problem. I don't know why my website with tractors I've repaired didn't work. http://www.rockisland.com/~ejensen should work. Just tried it and website worked. I certainly appreciate your willingness to provide guidance and share information with me. I've had a lot of problems with thumbs I've made for my backhoe. Twisting, breaking, welds breaking,. The one you made really looks good.
Thank you and I enjoy helping. Although I am a retired Tool&Die Maker, my thumb might not reflect quality but it has served me well. It could have been made heavier and I am sure some people would have had a different design.
I looked at many thumbs but could not justify paying $800 to $1200 for something that I could build.
Many people don't have the time and that would justify buying new.
Some time back, I posted three photos of my thumb on this website with limited response.
I do remember someone criticizing the design and stating that lifting a large rock would wipe it out.
I responded to this useless post that the next time I lifted a 500 pound rock, I would remember his post!
Some people can destroy anything!
 
Bought the 3/4 x 3 inch pieces of mild steel at the metal yard.How many places did you drill the 1/4 inch holes for threaded rod to keep things in line when welding? Looks like 3.Thanks again Chris Jensen
 
Yes, I used three and the pivot pin was in place as well. I had very little warpage.
I used the thumb yesterday, moving brush. Amazing how much brush you can pick up and place on a burn pile.
 
Thanks again for the information. I didn't think about having the pin in place when welding. Good idea. I do better welding when having pieces flat. Was it difficult to weld the cross brace pieces while the two thumb pieces were held in position with the pin? Maybe you tipped the assembly up and down to give a more flat surface for welding.
Just finished boring a 3/4 inch hole through the two pieces of 3/4 x 3. I tack welded them together to keep the metal in line. I'll bore the 1/4 inch holes prior to taking the two pieces apart. Picture of the current thumb shows the existing 3/4 inch hole in one side of the boom.
a52044.jpg

a52045.jpg
 
I may have sent information to the wrong person the first time I sent this message. Noticed that the cross pieces You used on the thumb You build look smaller than the 3 inch by 3/4 inch pieces used for the sides of your thumb. I bought 3 pieces of 3/4 x 3inch x 32.What size metal did you use for the cross pieces? They look like 3/4 by 1 1/2 or 3/4 by 2.
 
(quoted from post at 02:25:56 10/30/11) I may have sent information to the wrong person the first time I sent this message. Noticed that the cross pieces You used on the thumb You build look smaller than the 3 inch by 3/4 inch pieces used for the sides of your thumb. I bought 3 pieces of 3/4 x 3inch x 32.What size metal did you use for the cross pieces? They look like 3/4 by 1 1/2 or 3/4 by 2.
Since I am not able to check the thumb, I am sure the center cross support was constructed with 1/2" by 2" with a flat 1/2" on bottom and the top link ears were welded to the three pieces. The crossbracing on the end was 2" so as to not intefer with teeth. The other bracing was welded flat, near teeth side so as to allow nearly flat storage when not in use.
I am sure you could use thicker bracing but I had the 1/2" pieces.
 
I would use larger than 3/4" pins so they don't bend or break. As for going through the boom, cut the holes bigger and weld a bushing in (from both sides)with a 1/4" or better wall thickness. This will add a lot of strength to the boom and won't let the holes in the boom wear bigger from the forces on the pivot points. Your hoe will have a few tons of force from the bucket cylinder and it's not always easy to tell how much force you are clamping on with. Better to over build than under build for your application.
 
You are certainly correct about the bending forces applied by the backhoe I have. It is a 1957 case 320 industrial. It always surprises me how much force is applied when using the cylinders that activate the bucket. Hydraulic force has managed to bend or break all of the thumbs I have installed to date. I'm using 3/4 inch steel this time with all edges beveled leaving 1/8 inch at the bottom. I plan to use 1/8 E6011 for a beginning then E7018 with multiple passes to fill back to 3/4 or more. The welder I use is an old Lincoln AC 180 amp welder. Have a 225 Lincoln AC welder at a different place than the location of the backhoe. Could move the 225 welder to where the backhoe is. Have a very old Miller 100 percent duty onan 2 cylinder driven welder which is an AC DC 250 amp unit. The local professional welder where I live uses DC only. Seems that the arc is steadier and easier to start with the DC welder. The stator or the coil on the DC unit needs to be replaced. Have another onan 2 cylinder engine on a generator unit. Took the coil off the generator unit and put it on the DC welder unit. Used a 6 volt car battery hooked to the point/condenser box. Engine on the DC unit works good with this set up. What would be your preference of welding units for the thumb I plan to build for my backhoe?
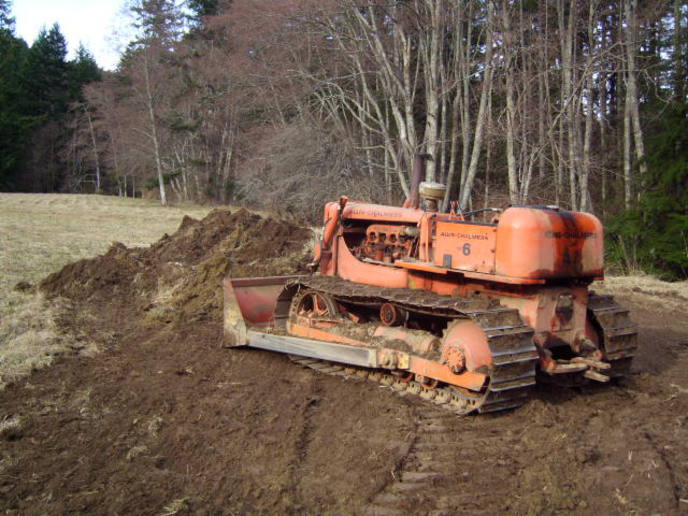
Sent a picture of the present thumb assembly on my backhoe. Works good for brush but bends easily when trying to move/lift logs. It bent a 1/2 by 6 by 12 inch piece of steel easily when curling the bucket to expose roots around a large stump. I use the backhoe together with an older HD 6 Allis Chalmers.
a52733.jpg

a52734.jpg

a52735.jpg
 
Sending pictures of the completed thumb. Thanks again for the information regarding the thumb You built. It works great, is strong, and folds up out of the way.
a53050.jpg

a53052.jpg
 
(quoted from post at 04:00:48 11/06/11) Sending pictures of the completed thumb. Thanks again for the information regarding the thumb You built. It works great, is strong, and folds up out of the way.
a53050.jpg

a53052.jpg
Thanks for the update--always nice to know I might have helped someone. It appears to be plenty strong and should serve you well!!
 
It is very strong. I had a lesson from a friend of mine who is the local welder in my area. Pete has built many things including welded aluminum boats. He uses DC exclusively for fabrication of things like the thumb I build from your plans. My main error was not pushing the 7018 rod into the material being welded. My arc was too long. I repaired my old Miller DC onan welder. Had another onan engine and had plenty of parts. My lincoln AC welder worked well wnen I used 150 amps with the AC/DC 1/8in. 7018 rod.
Untitled URL Link
 

We sell tractor parts! We have the parts you need to repair your tractor - the right parts. Our low prices and years of research make us your best choice when you need parts. Shop Online Today.

Back
Top