
charles todd
Well-known Member
For those reading that do not know or have forgot here is the skinny. The clutch suddenly would not release clean and I had a lot of gear clash. I suspected the 15-20 year old clutch (4-pad button) or pressure plate had failed or seperated. I had adjusted the linkage until I gave up and ordered the parts to do a clutch R&R.
Today I revisited the Farmall 504 in search of the problem. Tomorrow I had planned to trailer it to my fathers and split it. My parts are still arriving to the dealer tomorrow, but I'll inventory them until the clutch fully fails. I'll just set them aside by the re-surfaced flywheel I have...
Here is what I found. Mechanical diesels are wonderful, just pull out the fuel shut-off cable and crank away. I bumped the tractor over and crawled underneath MANY times looking for a sign, a sign that I was not going to have to split tomorrow. Well I found it... I'll let the pictures describe.
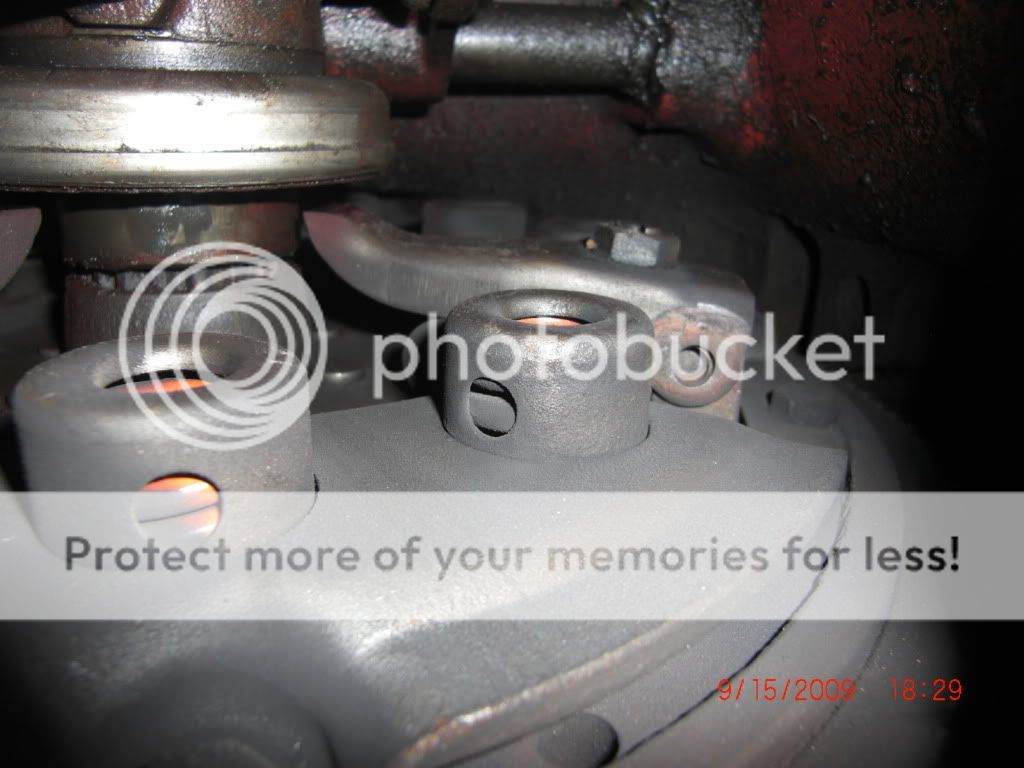
[b:119636bbd0]What is this?[/b:119636bbd0]
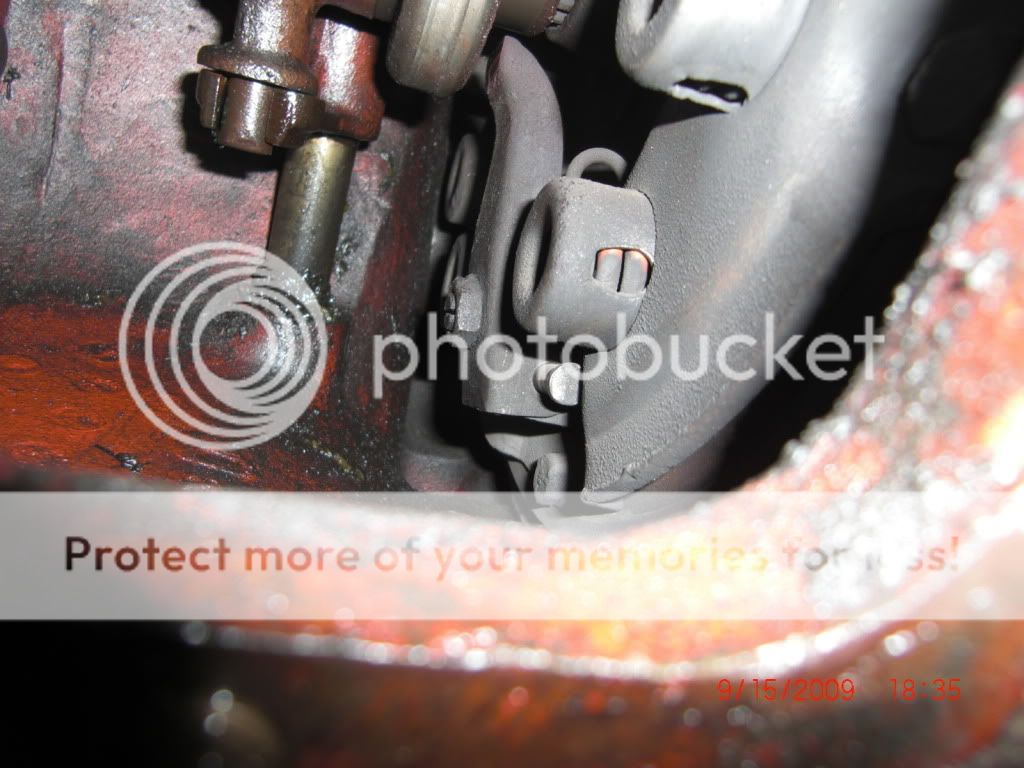
[b:119636bbd0]And this?[/b:119636bbd0]
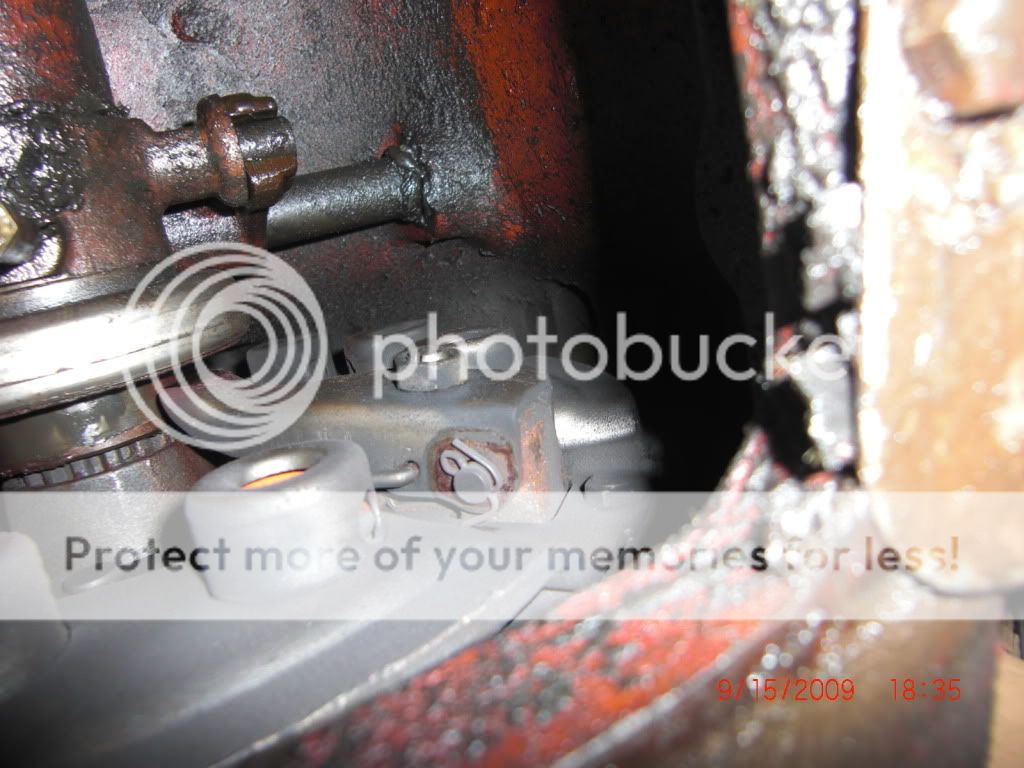
[b:119636bbd0]Supposed to look like this...[/b:119636bbd0]
[b:119636bbd0]Here is the fix...[/b:119636bbd0]
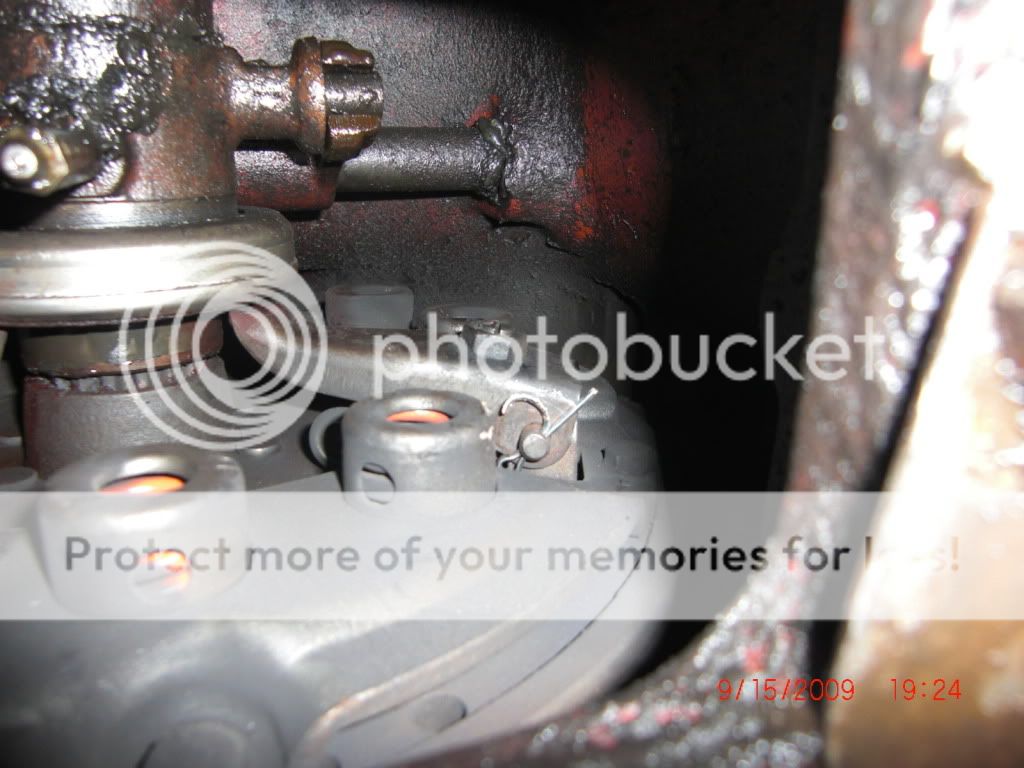
I adjusted the clutch linkage and the TA linkage. Then I started the engine and gave it the test. Pressed in on the clutch and within 5-7 seconds, could shift clash free... That partially out pin was dragging the clutch even with the take-up against the throw out bearing in the disengaged position (clutch pedal up). If you look at the last two pics, you'll see that I am not done. I still have to adjust the release finger stud. It appears to have worked out and it is dragging against the throwout bearing. The other two finger have sufficent clearance.
Any tips on setting the finger? Or should I just "guess-timate" to match the other two? Dad said the previous pressure plate had done the same, except the cotter key did not disappear.
Clutch R&R:
Clutch, Pressure Plate, Throw out Brg, Pilot Brg, Rear Engine Main Seal and Sleeve, $300
Cotter Key from work, FREE
Experience Learned, PRICELESS...
Thanks guys,
CT
Today I revisited the Farmall 504 in search of the problem. Tomorrow I had planned to trailer it to my fathers and split it. My parts are still arriving to the dealer tomorrow, but I'll inventory them until the clutch fully fails. I'll just set them aside by the re-surfaced flywheel I have...
Here is what I found. Mechanical diesels are wonderful, just pull out the fuel shut-off cable and crank away. I bumped the tractor over and crawled underneath MANY times looking for a sign, a sign that I was not going to have to split tomorrow. Well I found it... I'll let the pictures describe.
[b:119636bbd0]What is this?[/b:119636bbd0]
[b:119636bbd0]And this?[/b:119636bbd0]
[b:119636bbd0]Supposed to look like this...[/b:119636bbd0]
[b:119636bbd0]Here is the fix...[/b:119636bbd0]
I adjusted the clutch linkage and the TA linkage. Then I started the engine and gave it the test. Pressed in on the clutch and within 5-7 seconds, could shift clash free... That partially out pin was dragging the clutch even with the take-up against the throw out bearing in the disengaged position (clutch pedal up). If you look at the last two pics, you'll see that I am not done. I still have to adjust the release finger stud. It appears to have worked out and it is dragging against the throwout bearing. The other two finger have sufficent clearance.
Any tips on setting the finger? Or should I just "guess-timate" to match the other two? Dad said the previous pressure plate had done the same, except the cotter key did not disappear.
Clutch R&R:
Clutch, Pressure Plate, Throw out Brg, Pilot Brg, Rear Engine Main Seal and Sleeve, $300
Cotter Key from work, FREE
Experience Learned, PRICELESS...
Thanks guys,
CT